
Sunday, October 31, 2021
Friday, October 29, 2021


Wednesday, October 27, 2021


Tuesday, October 26, 2021


Monday, October 25, 2021


Saturday, October 23, 2021


Monday, October 18, 2021


Saturday, October 16, 2021


Friday, October 15, 2021


Thursday, October 14, 2021


Wednesday, October 13, 2021


Monday, October 11, 2021


Sunday, October 10, 2021
How to make captions like me
I've received a few questions about the software I use and the technical process for creating captions. I'd love to see more cappers out there, so here's exactly how I do it.
I use Adobe Photoshop on Mac, but GIMP is a free alternative.
Please feel free to share your new blogger accounts with me!
Still captions
1. Create a folder to store interesting photos you come across. I get them from accounts I follow on Tumblr, pornpics, etc.
2. Open the image in photoshop, select all and copy.

3. Click file > new. The dimensions of the copied image are automatically applied. We want to add more space for the caption, so I usually roughly double either the width or height, depending on whether you want the text on the bottom or side.


4. Click "create"
5. Paste the image and move it to the top or left. You'll see pink links indicate it's snapping to the edge of the canvas.

6. Select the type tool and draw a text box.

7. Replace the fill text and type your caption. You can change the font, color, etc. at the top of the screen. I usually adjust the size a bit to make it as big as possible while fitting in the text box.
- Tip: Keep the text short and big enough to read! Newbies tend to write too much. Focus on a single, impactful moment.
8. File > Save as copy. Under format, select JPEG.

9. Under JPEG Options, I usually select "High" and the number 8 automatically comes up. Click OK.

GIF captions
1. Open the GIF in photoshop.
- If it's a WebP file (sometimes Tumblr GIFs download like this), convert it to GIF here: https://ezgif.com/webp-to-gif
2. Click Image > Canvas Size

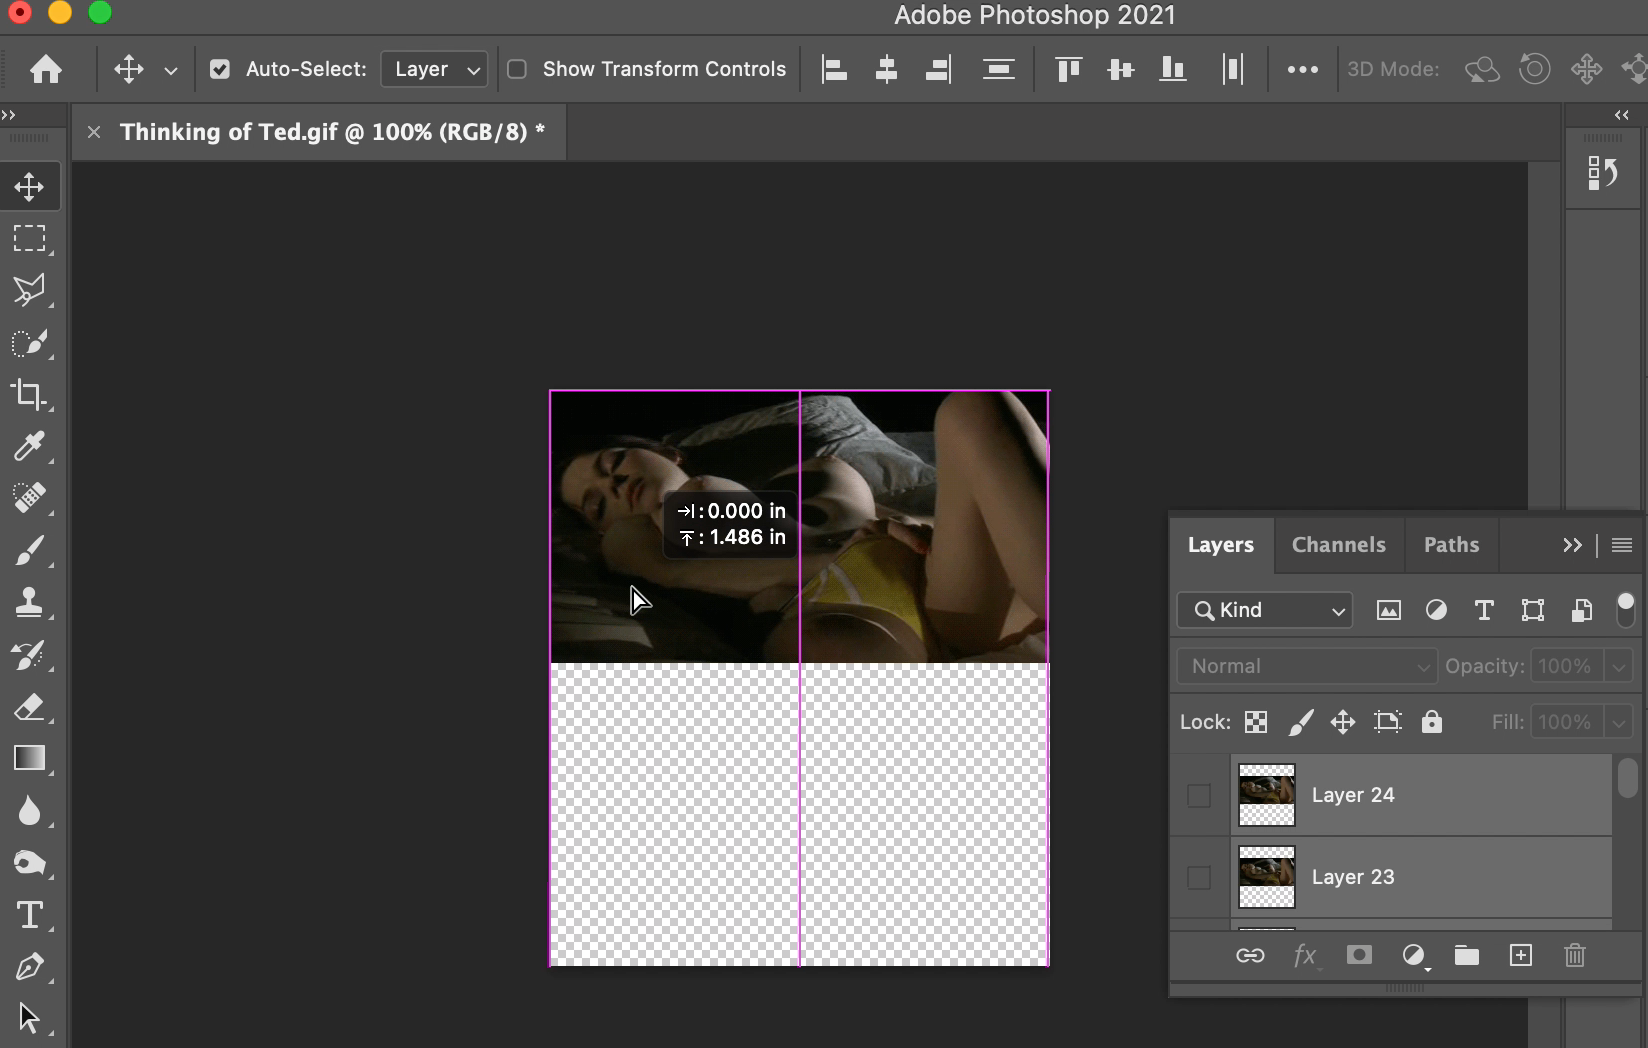
3. Just like with still images, I usually about double either the width or height to make room for the text. In this case, I'll change the height.

Your canvas should look something like this:

4. Click on layers and select all of them

5. Now, move the visible image to the top of the canvas. The pink lines will indicate it's snapping to the edge of the canvas.
6. Select the rectangle tool and change the fill on the top to white


7. Draw a rectangle behind the entire canvas. Make sure it more than covers the entire thing.

8. Now click on Layers and drag the rectangle layer from the top layer to the bottom later

9. Now draw a text box just like you would for a still image and type your text.
- If it tries to convert your white rectangle to a text box with no padding, draw your text box outside of the canvas and then adjust it to where it should be.
- Remember, GIFs are small. There's not a lot of space for text, so keep it short!

10. Now click File > Export > Save for Web (Legacy)

On the next screen, just click Save.

That's it! Just upload it to Blogger and you're all set.
Subscribe to:
Posts (Atom)